

반응형
넥서스 리파지토리의 서버가 존재한다는 전제하에서 진행합니다.
넥서스 설정은 아래의 포스팅을 확인해주세요.
https://luvris2.tistory.com/399
Spring - 폐쇄망 Nexus - 설치, 설정, 호스트 리파지토리 생성 (1/3)
포스팅에 사용된 시스템 정보 OS : Windows Nexus : nexus-3.45.0-01 STS : 4.17 넥서스 넥서스란? (Nexus) Nexus Repository OSS의 공식 설명 범용 형식을 지원하는 무료 아티팩트 저장소 범용 리파지토리 지원 개인
luvris2.tistory.com
넥서스에서 리파지토리에 업로드(배포)
(Nexus Repository Upload/Deploy)
- 넥서스 리파지토리 관리자 페이지 접속하여 로그인
- http://localhost:8081
- Upload - 업로드 할 리파지토리 선택

- 업로드 설정
- File : 추가 할 라이브러리 jar 파일 선택
- Group ID / Artifact ID : 이름 입력
- Version : 버전 입력
- Upload
- Generate a POM file 체크
- jar 입력

- Browse - 업로드한 리파지토리명 클릭 - 업로드 확인

- lombok 라이브러리 업로드 확인
- 우측 하단을 보면 프로젝트에 맞는 의존성 코드를 쉽게 확인 할 수 있음

매이븐 리파지토리 설정
(Maven Repository Setting)
setting.xml 파일 설정
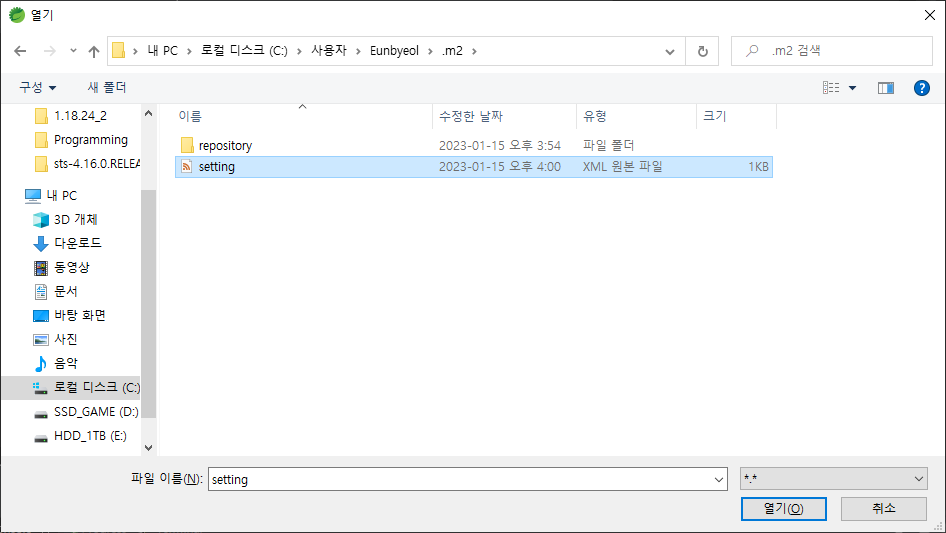
- 메이븐 리파지토리 폴더(.m2)에 setting.xml 파일 열기
- 파일이 없다면 파일 생성

- setting.xml
<settings xmlns="http://maven.apache.org/SETTINGS/1.0.0"
   xmlns:xsi="http://www.w3.org/2001/XMLSchema-instance"
   xsi:schemaLocation="http://maven.apache.org/SETTINGS/1.0.0
   http://maven.apache.org/xsd/settings-1.0.0.xsd">

   <servers>
     <server>
    <!--
       <id> 설정한 넥서스 리파지토리 ID </id>
       <username> 넥서스 리파지토리에 접근 가능한 유저 아이디 </username>
       <password> 유저의 비밀번호 </password>
    -->
       <id>hostedRepoTest-release</id>
       <username>hostedRepoTestUser</username>
       <password>admin123</password>
     </server>
     <server>
    <!--
       <id> 설정한 넥서스 리파지토리 ID </id>
       <username> 넥서스 리파지토리에 접근 가능한 유저 아이디 </username>
       <password> 유저의 비밀번호 </password>
    -->
       <id>hostedRepoTest-snapshot</id>
       <username>hostedRepoTestUser</username>
       <password>admin123</password>
     </server>
   </servers>

	<!--
      <id>설정한 넥서스 리파지토리 ID</id>
      <mirrorOf>*</mirrorOf>
      <name>리파지토리명</name>
      <url>리파지토리 URL</url>
    -->
   <mirrors>
        <mirror>
          <id>hostedRepoTest-release</id>
          <mirrorOf>*</mirrorOf>
          <name>hostedRepoTest-release</name>
          <url>http://localhost:8081/repository/hostedRepoTest-release/</url>
        </mirror>
    </mirrors>

 </settings>
설정한 setting.xml 파일 적용
- (스프링에서) Window - Preferences

- Maven - User Settings - User Settings Browse...

- setting.xml 파일이 위치한 디렉토리로 이동 - 열기
- setting.xml 파일이 적용되었는지 확인 후 - Apply and Close

매이븐 프로젝트 다운로드 설정
(Maven Project Download Setting)
pom.xml 파일 설정
repositories
- 현재 프로젝트에서 사용할 원격 아티팩트를 다운로드 할 수 있는 위치와 방식을 지정
- 즉, 라이브러리 다운을 위한 것
- 기본적으로 http://repo.maven.apache.org/maven2 에서 다운로드
- 리파지토리 URL은 http://localhost:8081/repository/ 뒤에 리파지토리 이름 기재
dependencies
- 의존성 라이브러리 정보
pom.xml 코드
<repositories>
    <!-- 리파지토리 추가
    <repository>
        <id>설정한 넥서스 리파지토리</id>
        <name>리파지토리 이름</name>
        <url>리파지토리 URL</url>
    </repository>
    -->
    <repository>
        <id>hostedRepoTest-release</id>
        <name>hostedRepoTest-release</name>
        <url>http://localhost:8081/repository/hostedRepoTest-release/</url>
    </repository>
    <repository>
        <id>hostedRepoTest-snapshot</id>
        <name>hostedRepoTest-snapshot</name>
        <url>http://localhost:8081/repository/hostedRepoTest-snapshot/</url>
    </repository>
</repositories>

<dependencies>
    <!-- 사용 할 라이브러리 추가, 업로드 했던 값 입력 -->
    <!-- 넥서스 리파지토리에 존재하는 라이브러리, 의존성 추가 -->
    <dependency>
      <groupId>org.projectlombok</groupId>
      <artifactId>lombok</artifactId>
      <version>1.18.24</version>
    </dependency>
</dependencies>
- 참고) 모든 소스 코드
더보기
<?xml version="1.0" encoding="UTF-8"?>

<project xmlns="http://maven.apache.org/POM/4.0.0" xmlns:xsi="http://www.w3.org/2001/XMLSchema-instance"
  xsi:schemaLocation="http://maven.apache.org/POM/4.0.0 http://maven.apache.org/xsd/maven-4.0.0.xsd">
  <modelVersion>4.0.0</modelVersion>

  <name>test Maven Webapp</name>
  <!-- FIXME change it to the project's website -->
  <url>http://www.example.com</url>

  <properties>
    <project.build.sourceEncoding>UTF-8</project.build.sourceEncoding>
    <maven.compiler.source>1.7</maven.compiler.source>
    <maven.compiler.target>1.7</maven.compiler.target>
  </properties>

  <repositories>
	<repository>
		<id>hostedRepoTest-release</id>
		<name>hostedRepoTest-release</name>
		<url>http://localhost:8081/repository/hostedRepoTest-release/</url>
	</repository>
	<repository>
		<id>hostedRepoTest-snapshot</id>
		<name>hostedRepoTest-snapshot</name>
		<url>http://localhost:8081/repository/hostedRepoTest-snapshot/</url>
	</repository>
</repositories>

  <dependencies>
    <dependency>
      <groupId>junit</groupId>
      <artifactId>junit</artifactId>
      <version>4.11</version>
      <scope>test</scope>
    </dependency>

<dependency>
  <groupId>org.projectlombok</groupId>
  <artifactId>lombok</artifactId>
  <version>1.18.24</version>
</dependency>

  </dependencies>

  <build>
    <finalName>example</finalName>
    <pluginManagement><!-- lock down plugins versions to avoid using Maven defaults (may be moved to parent pom) -->
      <plugins>
        <plugin>
          <artifactId>maven-clean-plugin</artifactId>
          <version>3.1.0</version>
        </plugin>
        <!-- see http://maven.apache.org/ref/current/maven-core/default-bindings.html#Plugin_bindings_for_war_packaging -->
        <plugin>
          <artifactId>maven-resources-plugin</artifactId>
          <version>3.0.2</version>
        </plugin>
        <plugin>
          <artifactId>maven-compiler-plugin</artifactId>
          <version>3.8.0</version>
        </plugin>
        <plugin>
          <artifactId>maven-surefire-plugin</artifactId>
          <version>2.22.1</version>
        </plugin>
        <plugin>
          <artifactId>maven-war-plugin</artifactId>
          <version>3.2.2</version>
        </plugin>
        <plugin>
          <artifactId>maven-install-plugin</artifactId>
          <version>2.5.2</version>
        </plugin>
        <plugin>
          <artifactId>maven-deploy-plugin</artifactId>
          <version>2.8.2</version>
        </plugin>
      </plugins>
    </pluginManagement>
  </build>
</project>
매이븐 프로젝트 빌드
(Maven Project Build)
- Run As - maven install
- 설정한 넥서스 내부 서버에서 해당 라이브러리를 다운로드

- 빌드 성공
- 테스트를 위해 인터넷을 끊고 시도해도 정상적으로 잘 작동

반응형